A simple use case for JUnit testing
A key feature that was added to the Real Load product recently is the support of JUnit tests. In a nutshell, it is possible to execute JUnit code as part of Synthetic Monitoring or even Performance Test scripts.
A simple example… Some DNS testing (again)
A while ago, I’ve implemented a simple DNS record testing script using an HTTP Web Test Plugin. Well, if I had to implement the same test today, I’d implement it using a JUnit test, as it looks more straightforward to me.
Prepare the JUnit code
First you’ll need to prepare your JUnit test code. You’ll need to compile your JUnit tests in a .jar archive, so what I did I created in my preferred IDE (NetBeans) a new Maven project.
The dependencies I’ve used for the DNS tests are:
    <dependencies>
        <dependency>
            <groupId>junit</groupId>
            <artifactId>junit</artifactId>
            <version>4.12</version>
        </dependency>
        <dependency>
            <groupId>dnsjava</groupId>
            <artifactId>dnsjava</artifactId>
            <version>3.5.2</version>
        </dependency>
    </dependencies>
Below the code implementing the DNS lookups against 4 specific servers. As you can see, each JUnit test executes the lookup against a different server:
import java.net.UnknownHostException;
import static junit.framework.Assert.assertEquals;
import org.junit.Test;
import org.xbill.DNS.*;

public class DNSNameChecker {

    public DNSNameChecker() {
    }

    @Test
    public void testGoogle8_8_8_8() {

        String ARecord = CNAMELookup("8.8.8.8", "kb.realload.com");
        assertEquals("www.realload.com.", ARecord);
    }

    @Test
    public void testGoogle8_8_4_4() {

        String ARecord = CNAMELookup("8.8.4.4", "kb.realload.com");
        assertEquals("www.realload.com.", ARecord);
    }

    @Test
    public void testOpenDNS208_67_222_222() {

        String ARecord = CNAMELookup("208.67.222.222", "kb.realload.com");
        assertEquals("www.realload.com.", ARecord);
    }

    @Test
    public void testSOA_ns10_dnsmadeeasy_com() {

        String ARecord = CNAMELookup("ns10.dnsmadeeasy.com", "kb.realload.com");
        assertEquals("www.realload.com.", ARecord);
    }

    private String CNAMELookup(String DNSserver, String CNAME) {
        try {
            Resolver dnsResolver = null;
            dnsResolver = new SimpleResolver(DNSserver);
            Lookup l = new Lookup(Name.fromString(CNAME), Type.CNAME, DClass.IN);
            l.setResolver(dnsResolver);
            l.run();

            if (l.getResult() == Lookup.SUCCESSFUL) {
                // We'll only get back one A record, so we'll only return
                // the first record.
                return (l.getAnswers()[0].rdataToString());
            }

        } catch (UnknownHostException | TextParseException ex) {
            return null;
        }
        // Return null in all other cases, which means some sort of error
        // occurred while doing the lookup.
        return null;
    }

}
Test your code and then compile it into a .jar file.
Upload the .jar file to Real Load portal
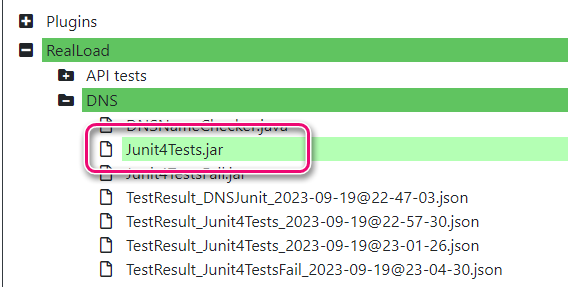
The next step is to upload the .jar file containing the JUnit tests to the Real Load portal.
Configure the test
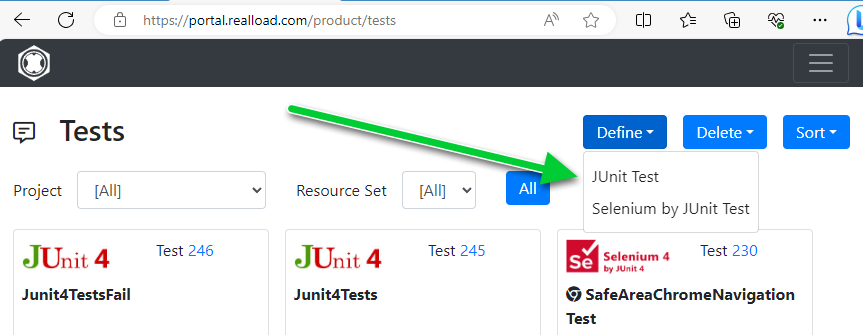
Now go to the Tests tab and define the new JUnit test:
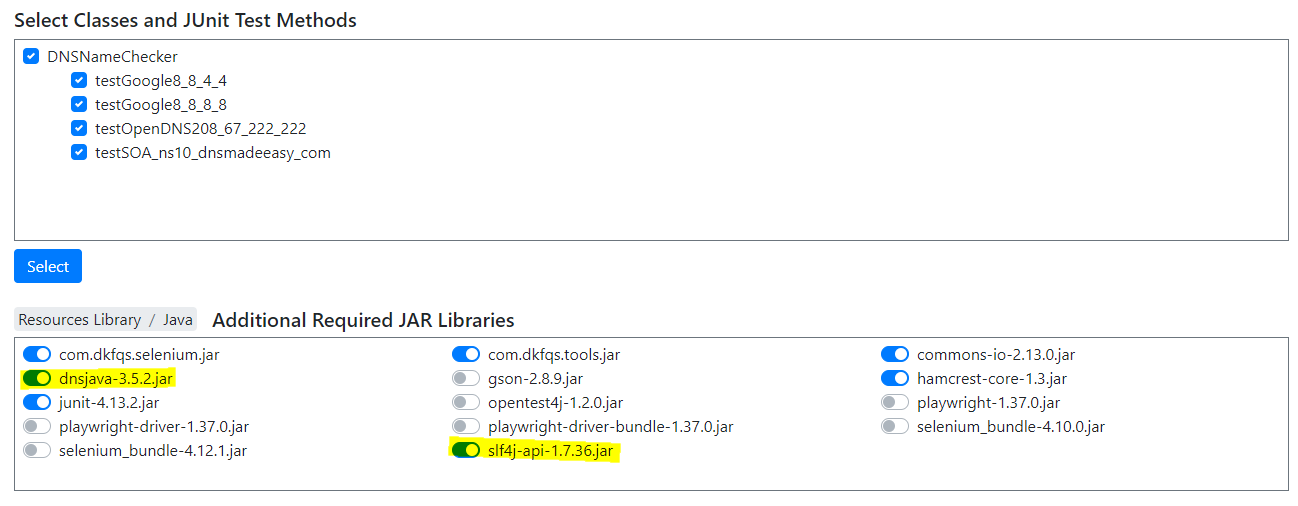
Select the .jar file containing the tests. You’ll then be presented with a page listing all tests found in the .jar file. Also make sure you select any dependencies required by your JUnit code, in this example the dnsjava and the slf4j jar files.
To verify that the test works, you might want to execute it once as a Performance Test (1 VU, 1 cycle).
Configure Synthetic Monitoring job
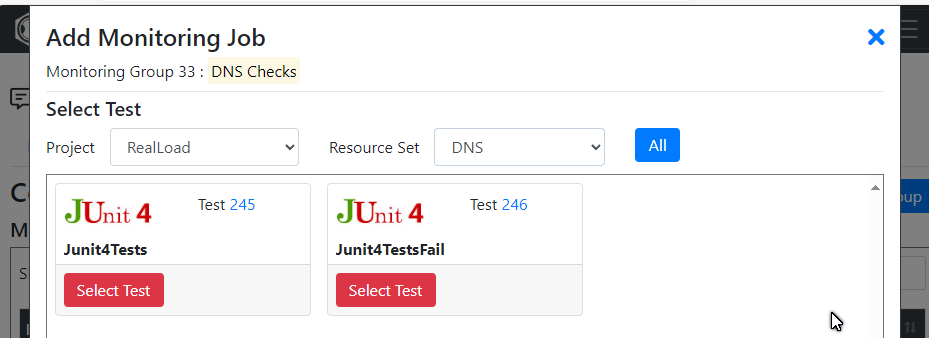
Now that the test is defined, add a Monitoring Job to execute a regular intervals your JUnit test. Assuming you already have a Monitoring Group defined, you’ll be able to add a JUnit test by selecting the test you’ve just configured:
Review results
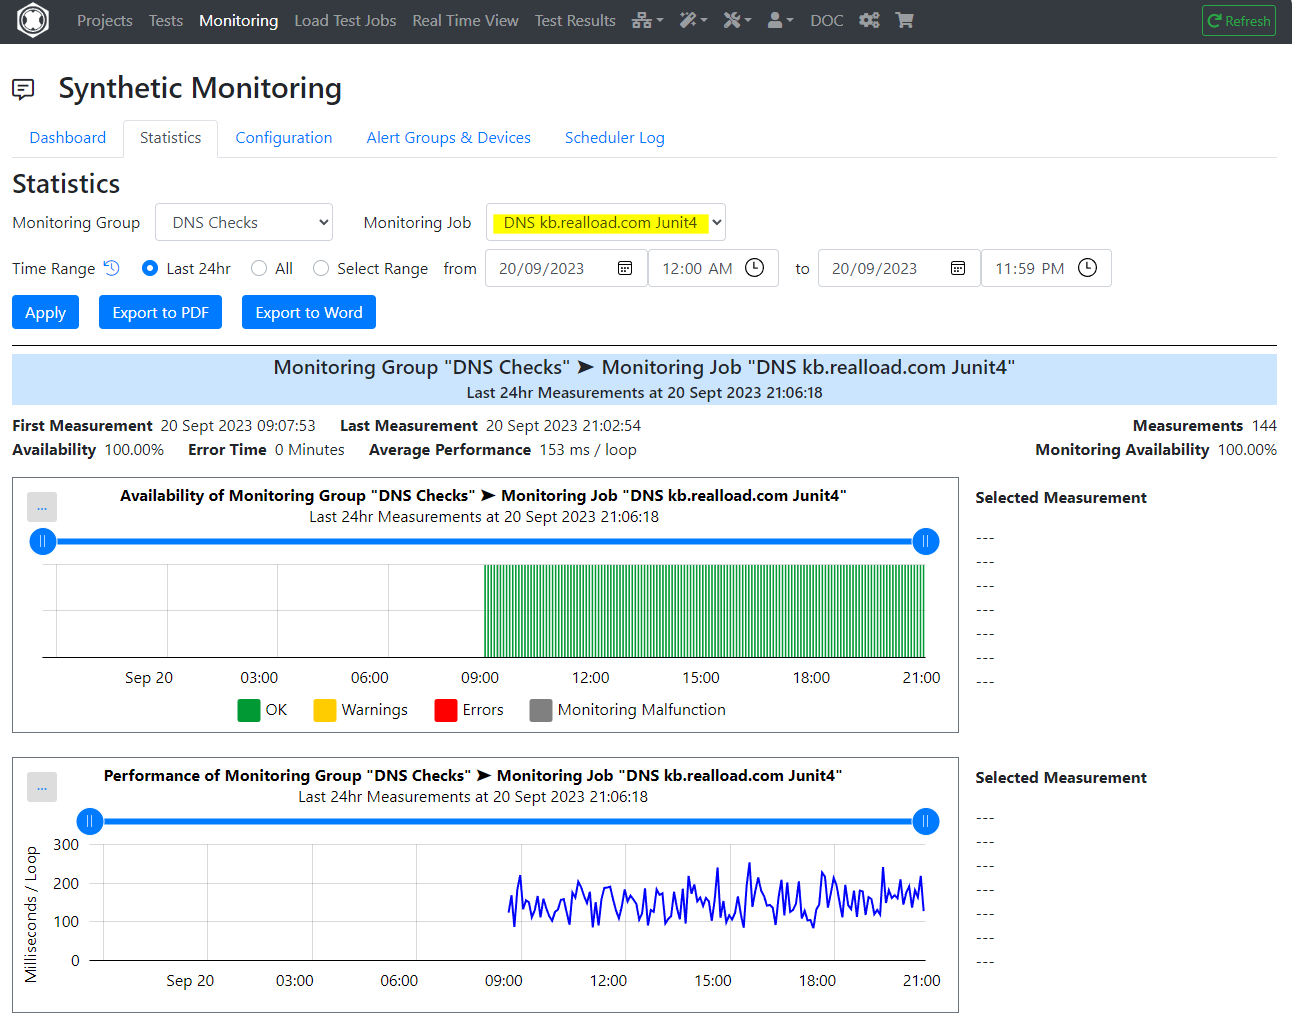
Done! Your JUnit tests will now execute as per configuration of your Monitoring Group, and you’ll be able to review historic data via the Real Load portal:
